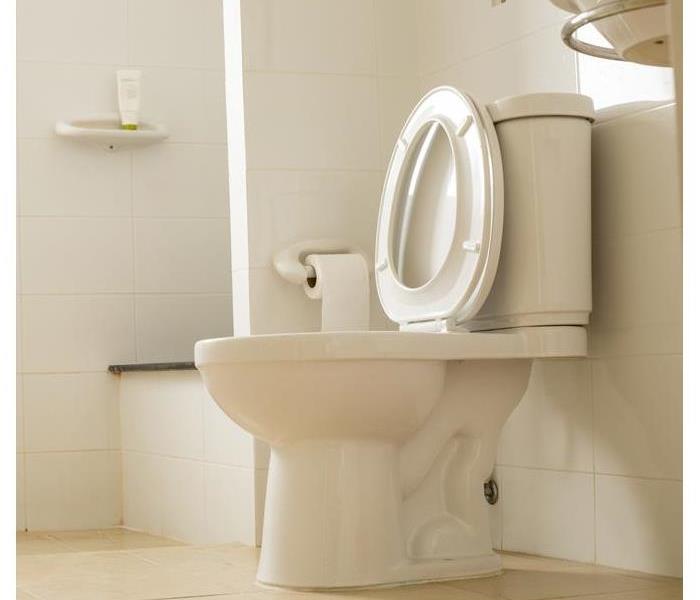
5 Steps for Fixing a Toilet Leak
12/18/2018 (Permalink)
5 Steps for Fixing a Toilet Leak
Few problems can cause more disruption in your home than a leaking toilet. The longer the issue goes unresolved, the more problems it can cause, resulting in the need to hire water damage specialists. If you notice water on the floor after you flush, and the water is not coming from the top of the bowl itself, you may have to remove the toilet to fix the leak. Here are the five basic steps of that process.
1. Drain and Detach
The first step of toilet repair is draining all the water out of the tank and bowl. Turn off the water at the shut-off valve; then flush the toilet. You may notice water coming out from under the base, confirming that the leak is coming from the toilet itself and not a supply line. Once the toilet is drained, detach it from the water source.
2. Rock and Remove
To fix a leaking toilet, you have to get to the source of the problem, so you will need to rock it back and forth until the wax seal holding it in place is broken. Place the toilet to the side on a pallet of towels.
3. Assess and Replace
A broken flange, inadequate seal or loose bolts could all be the cause of the leak. Once you determine the problem, you can visit any hardware store in Asheville, NC, to find the parts you need to replace.
4. Press and Tighten
Once the gasket and flange are back in place, it is time to replace the old toilet. Ease it onto the gasket, making sure it is parallel to the wall, and press down. Tighten the bolts that keep it where it belongs.
5. Reconnect and Test
Hook the supply line back up to the toilet and turn the water back on at the valve. Flush it to make sure that the leak has been repaired. If no water comes out the base, your efforts have been successful!
Replacing a leaking toilet can be easy. Just take it one step at a time.


 24/7 Emergency Service
